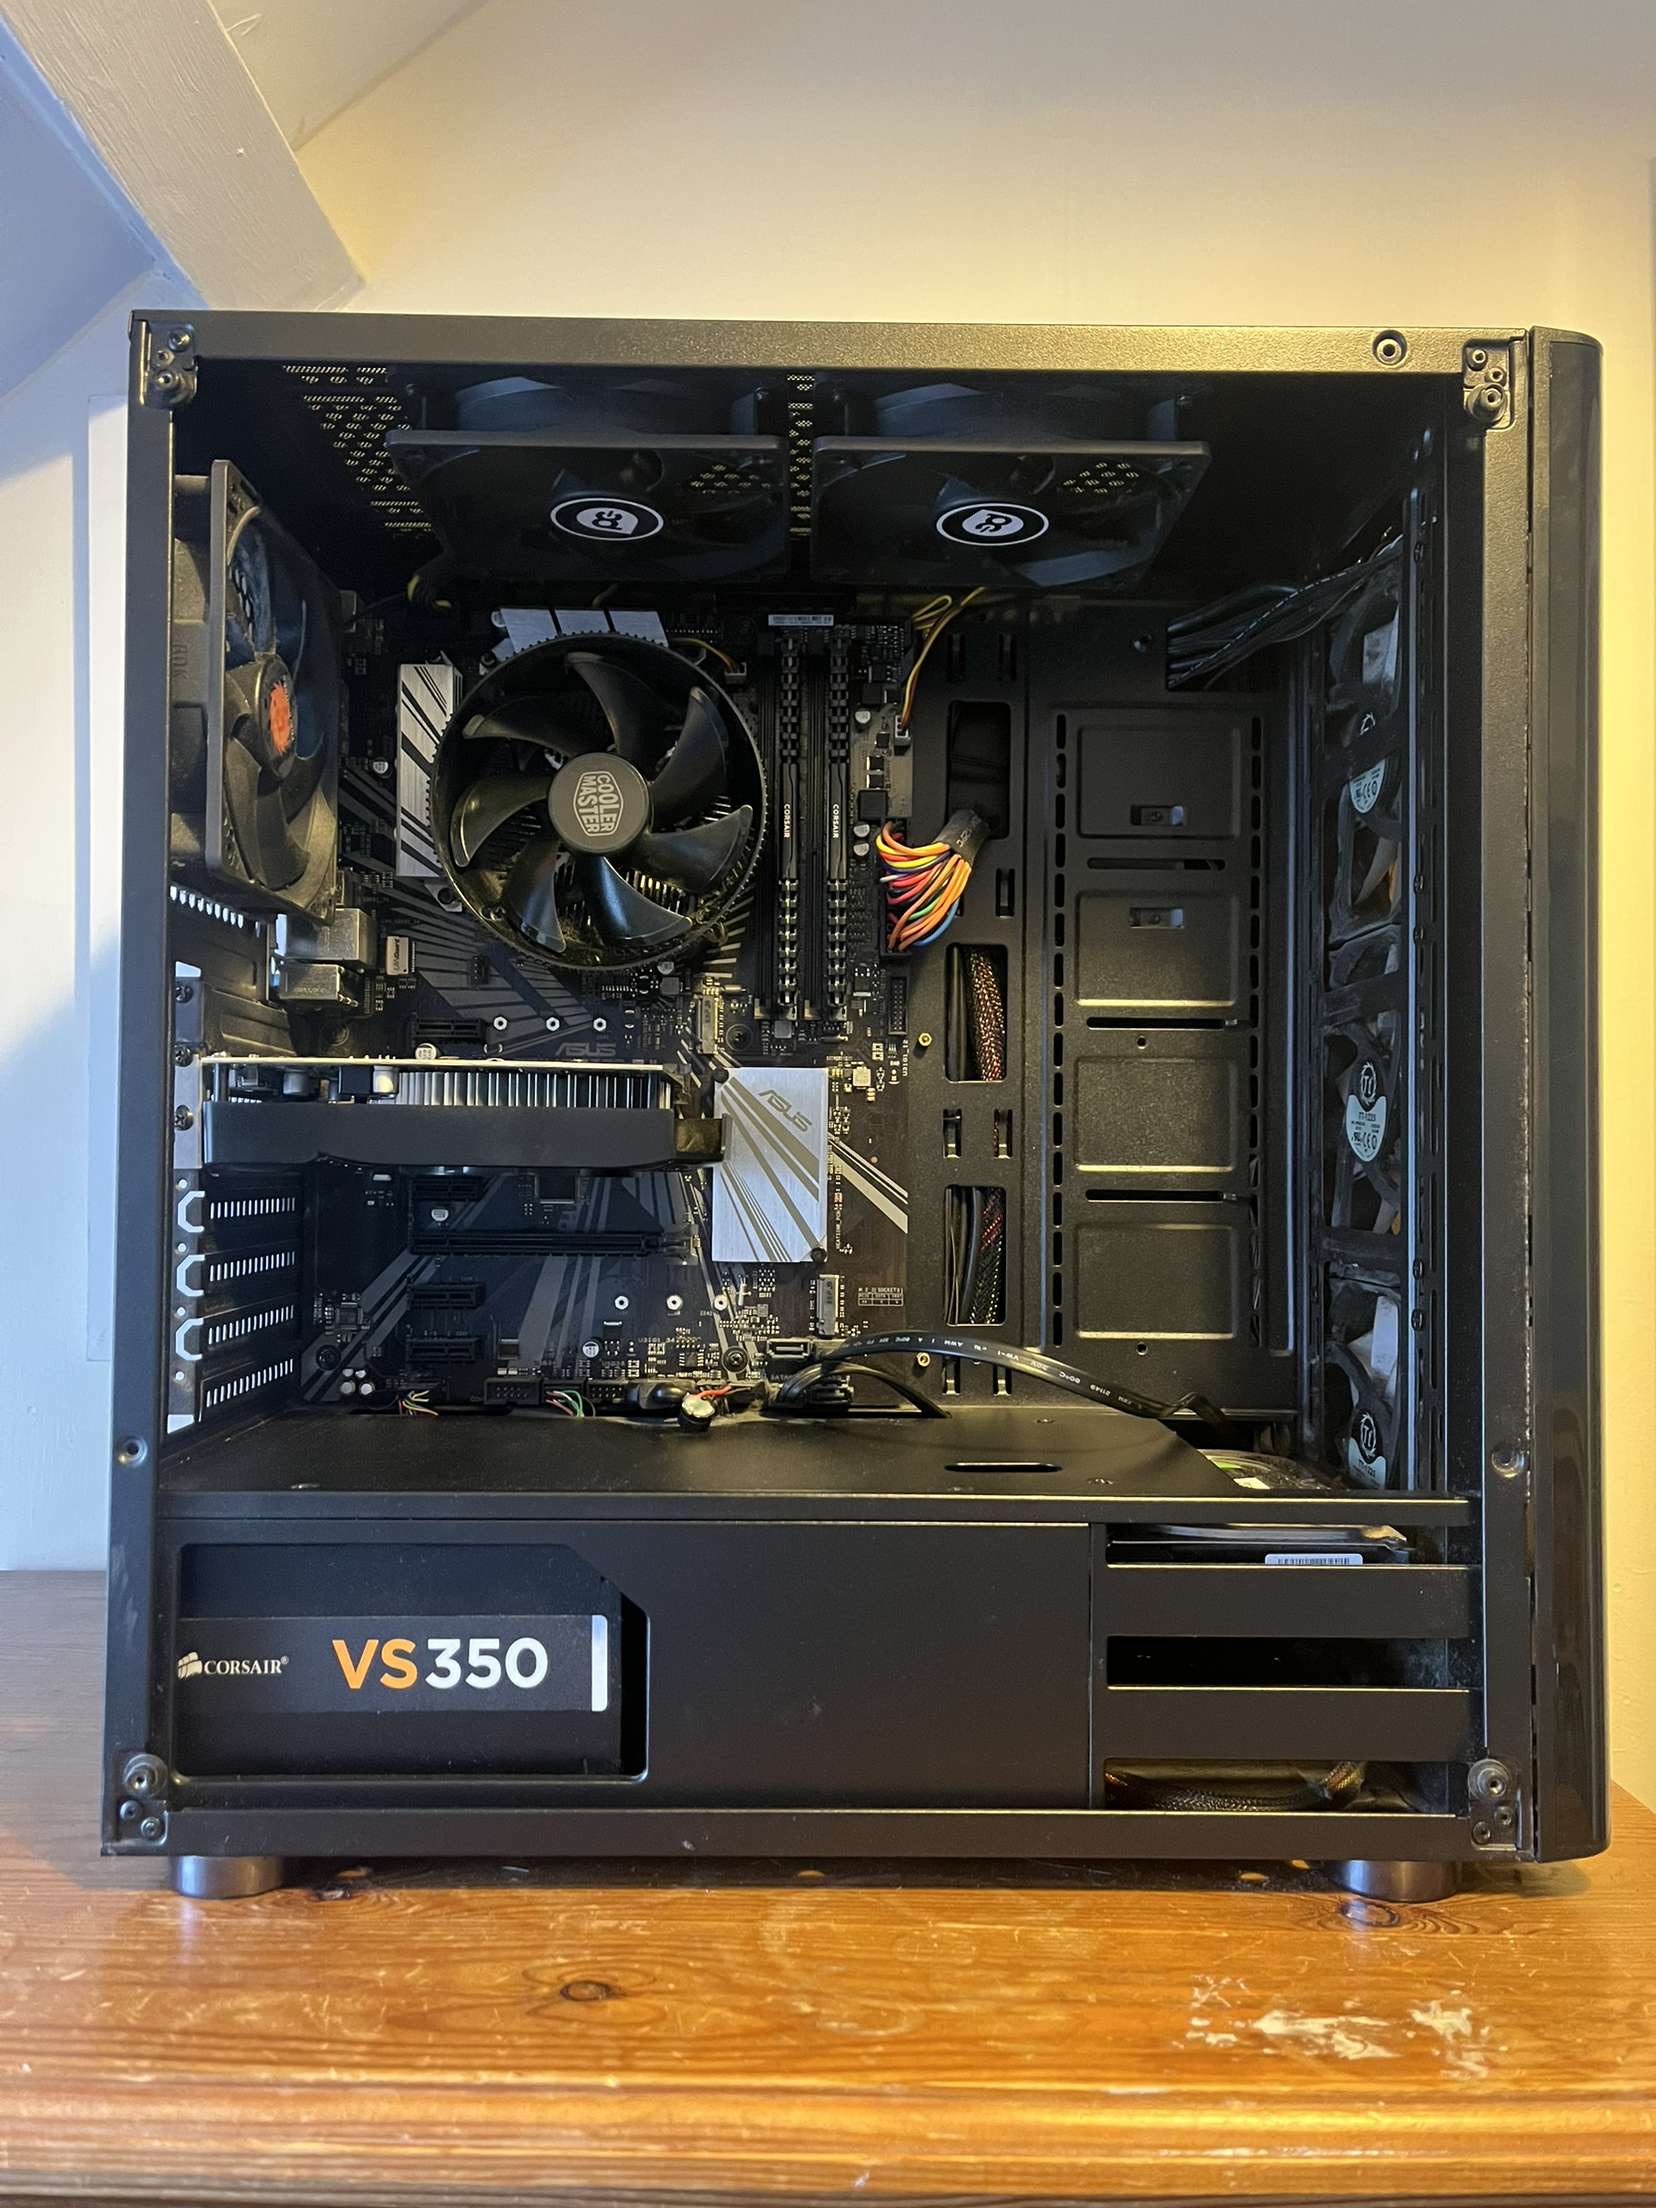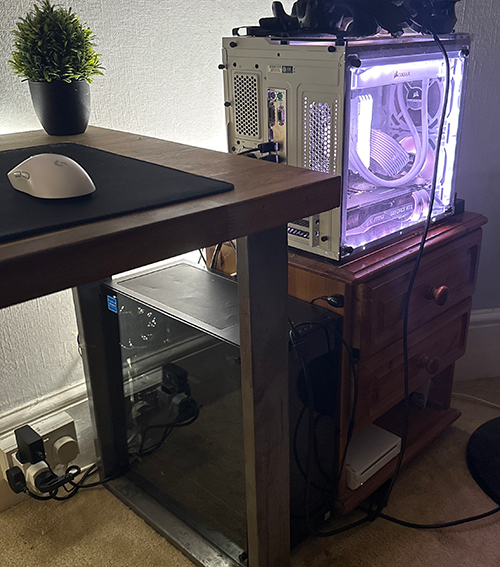
Over the years, I have had various reasons to want my own "homelab" server setup, and I decided to delve into this recently after buying a PC just for this purpose. My original aim was to host a single game server for a few of us to play on, and it has expanded into much more than that.
Specs
- I5 8600k
- 16GB DDR4 @ 2400MT/s
- GTX 1050Ti 4GB
- 1x 1TB HDD
- 1x 240GB SATA SSD
The Timeline
First Setup
My first task was to get the computer as ready as possible hardware-wise. More RAM, a bigger tower cooler with a larger fan, more efficient power supply and a new SSD were all installed.
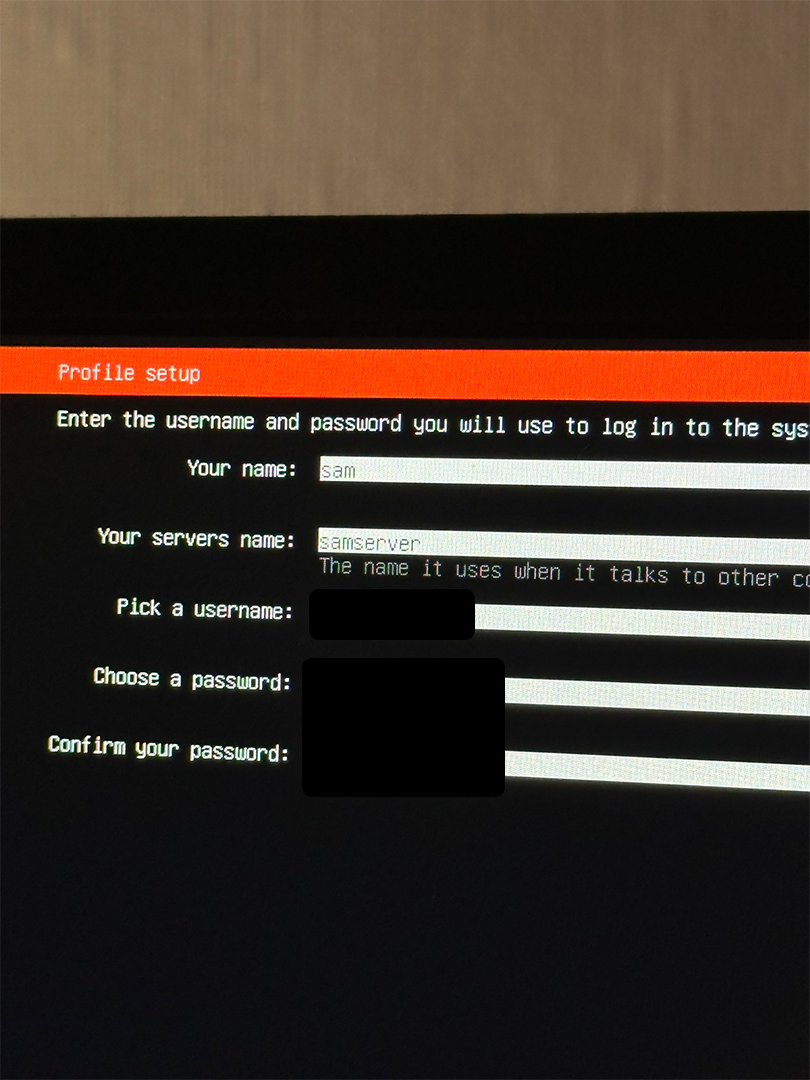
The first iteration of the Setup involved a simple Ubuntu Server install running on bare metal. This was great as I was already familiar with the CLI and it met my needs at that time of running simple game servers.
I made sure to set up the OS with a static IP address to avoid any DHCP headaches. I got connected to the server with SSH, then transferred all of the server resources with FTP, opened a port in our network for TCP communication, and handed out my public IP. Good start!
Setting up my Domain
After purchasing a domain, I wanted to use a particular prefix for my game server, with the plan to have multiple prefixes in the future if I had any more game servers I wanted to host.
I set up an A record and an SRV record in my DNS config to point to my public IP address and the port of the server respectively.
At this point, I hadn't considered that my ISP assigns us public IP addresses dynamically, so when my IP address changes, these records wouldn't work anymore.
Multiple Game Servers
I wanted my setup to be able to handle hosting multiple game servers at once, and the easiest solution I could think of on a simple Ubuntu Server installation was using Screen Sessions.
I got the assets downloaded and the game server running, and would detach from the Screen Session so I could run multiple at once. This wasn't ideal, and it was at this point I was starting to research if there was a better overall setup as my needs were growing.
Gigabit Internet
A few months pass at this point, the setup is barely sufficient for my needs but it is usable and just about does what I need it to. However, in May 2024 we get a Gigabit internet connection, and a new mesh router setup.
This completely breaks the networking side of the setup as the local gateway address changed, the port forwarding rules were gone, and our public IP address had changed breaking the DNS records.
At this point, it was time to upgrade.
Starting Over with Proxmox
I knew that some kind of virtualisation would be my best solution, allowing me to spin up LXCs and VMs as and when they are needed. After some research, I decided Proxmox was the best solution for me.
I backed up the game server assets with FTP, wiped clean the boot drive with the Ubuntu Server install, and installed Proxmox.
I created 2 Debian VMs to run my game servers from the previous installation. By following a similar procedure to if they were running bare metal, and by updating my DNS records, I got them set up.
Updating DNS Records Automatically
Now that Proxmox was set up, I wanted to avoid any of the issues that I experienced when our public IP address changed. I discovered that Cloudflare has a great API that allows you to update your DNS entries by simply making a POST request to their API with new values.
I spun up a lightweight LXC just for this, and set it to run on Proxmox start-up. It uses a simple docker image that runs my API call every 5 minutes, sending my current public IP and updating the DNS records automatically. If it ever stops whilst the LXC is still running, it will restart itself.
NAS
The next thing I wanted to set up was a NAS server, so I can back up important files away from my main devices.
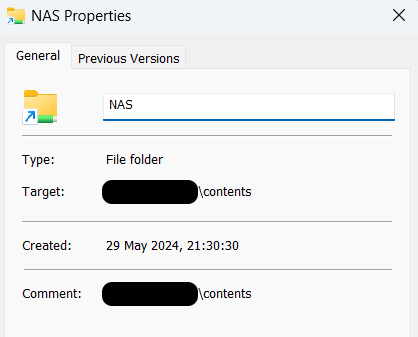
I created another Debian LXC for this, with it running from my MainPool storage volume, a 1TB Hard Drive just for storage. It runs a samba file server image with a similar config to my DNS Updater, restarting itself should the container ever stop whilst the LXC is running.
Nginx Proxy Manager
The next project I wanted to take on was an externally accessible Plex server, but in order to achieve this, I wanted to take a more interesting approach at managing the traffic in and out of my network.
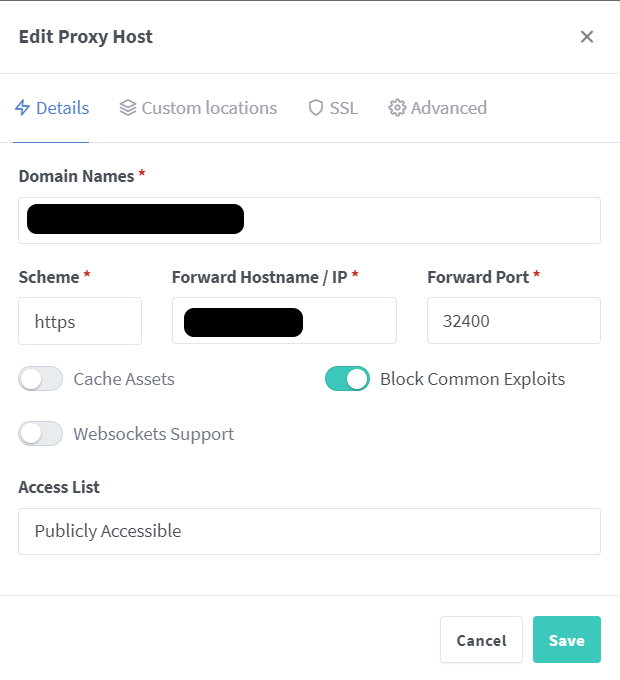
Instead of opening another port for Plex, Nginx Proxy Manager can be used to set up a Reverse Proxy. It listens on the standard HTTP (80) and HTTPS (443) ports, determines where traffic should be routed based on the domain prefix associated with the request, and then directs traffic to the correct internal IP/Port, all without exposing any non-standard ports to the internet.
I set up Nginx Proxy Manager in a Debian LXC, and got everything ready for Plex.
Plex
Now on to actually getting Plex installed. I created an Ubuntu LXC and installed it with the extremely helpful script from here: https://tteck.github.io/Proxmox/
I mounted my Samba NAS share within this LXC, and set my Plex Library to this location. The idea is that I can upload my movies and shows to my NAS from my main devices, and the share will always be up to date within the Plex LXC, making managing my files for Plex extremely easy.
I created a Proxy Host entry within Nginx Proxy Manager with my desired prefix, and pointed this to the local IP/Port of the Plex server.
Hardware Transcoding on Plex
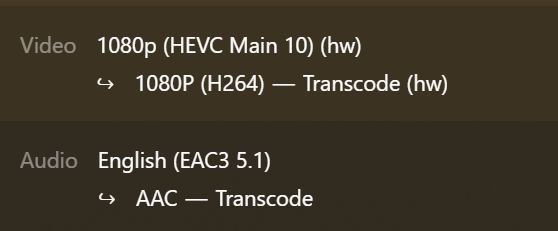
With Plex up and working, I was getting great performance when streaming, with fast loading times and no buffering as I was always directly playing my files without transcoding. However, when watching a particular show, I noticed it was performing extremely poorly, regularly not being able to keep up with 1080p playback.
I discovered this was to do with the file type not being able to be directly streamed through plex, and instead had to be transcoded to something that could be. I was only doing this on my CPU, and it couldn't keep up with one 1080p transcode, let alone multiple at the same time. This was also eating into my game server performance, as I had to keep giving more cores to Plex to keep up.
At this point, I researched how I could shift this workload to my Graphics card.
I configured Proxmox to pass the GPU to the LXC. I then installed the correct Nvidia driver for my GPU, and also ran a patch to unlock the 3 transcode stream limit on consumer GPUs, allowing for it to take on as many simultaneous transcodes as it can handle. I selected my GPU within Plex and enabled hardware transcoding.
